The Journal

Picking Your Perfect Size: The Heledd Corset
Since our first standard size corset Heledd was released last year, I’ve helped lots of you pick your perfect size! It’s always fun for me, I get to meet you...
Picking Your Perfect Size: The Heledd Corset
Since our first standard size corset Heledd was released last year, I’ve helped lots of you pick your perfect size! It’s always fun for me, I get to meet you...

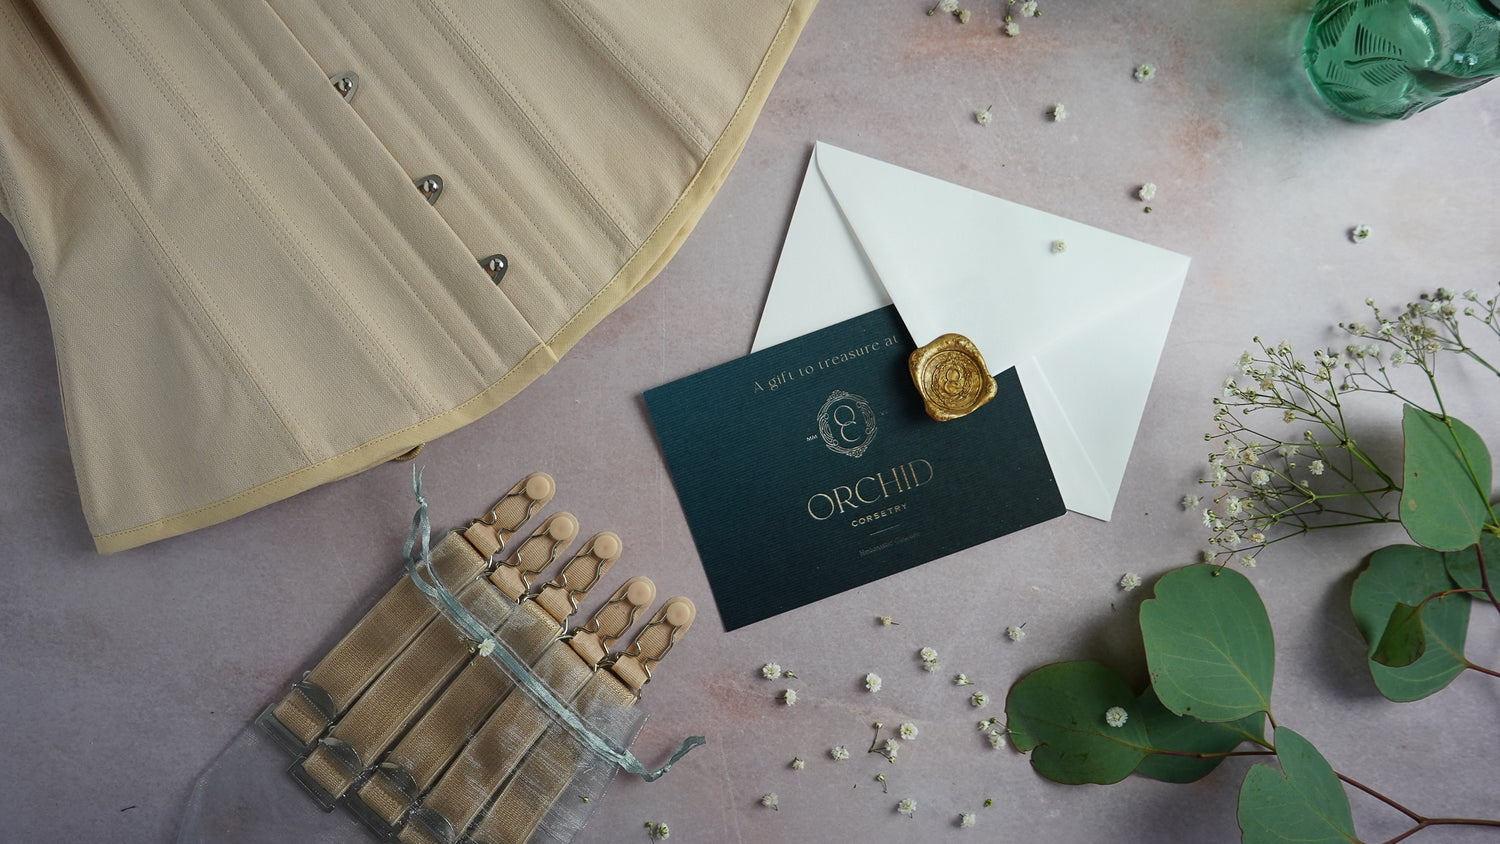
The Lover’s Gift Guide 2024
Finding the perfect gift for a lover may not always be easy, but the thrill of coming across something unexpected that they will truly treasure makes up for the search...
The Lover’s Gift Guide 2024
Finding the perfect gift for a lover may not always be easy, but the thrill of coming across something unexpected that they will truly treasure makes up for the search...
The Dressage Project
Dressage, And The Art Of Disciplined Lacing Last year, I was approached by a client who was nearing the end of his current commission about an ambitious future project that...
The Dressage Project
Dressage, And The Art Of Disciplined Lacing Last year, I was approached by a client who was nearing the end of his current commission about an ambitious future project that...

Cinch With Stealth – Welcoming Back Heledd
It’s been almost 2 years since (just after releasing my new stealth underbust style Heledd) I realised I had to shut shop. Not completely and not forever, but with a...
Cinch With Stealth – Welcoming Back Heledd
It’s been almost 2 years since (just after releasing my new stealth underbust style Heledd) I realised I had to shut shop. Not completely and not forever, but with a...

3000 Miles: The Tale Of An S-Bend Corset Dress
A common first question I get from new prospective clients is “how long will it take?” A perfectly reasonable question! Most of us have never had anything made to our...
3000 Miles: The Tale Of An S-Bend Corset Dress
A common first question I get from new prospective clients is “how long will it take?” A perfectly reasonable question! Most of us have never had anything made to our...