
Running a thriving independent brand rarely leaves you with a lot of time to experiment, but I’m forever uncovering things I want to try my hand at! So last Summer, I finally knuckled down to something I’ve wanted to work on for a long time- an extensively panelled corset.
For those who aren’t familiar with how a corset creates shaping, it is not, as many people imagine, the boning used, but in fact, it starts with the way the pattern is drawn. This comes from how the body dimensions are distributed through a pattern, and the point at which the corsetiere chooses to grade a line in or out. It makes a huge difference, and accounts for why cheaper off-the-rack corsets disappoint their wearers! Time spent with the pattern is never wasted, and the more panels you use (up to a point!) the more subtlety and flow you can create with the shaping.
If you’re unsure what I mean by “panels” (I often find the term confuses customers) I mean the individual segments that make up a corset. The vertical seams mark the edges of each panel. Splitting the fabric of a corset up like this is what allows us to shape the dramatic curves at the waist. More panels mean that at the waist, where the tension in a corset is at its greatest, the fabric is split into smaller sections. This reduces the stress on each individual panel and seam. A larger panel is more likely to show strain or even stretch if not given additional support.
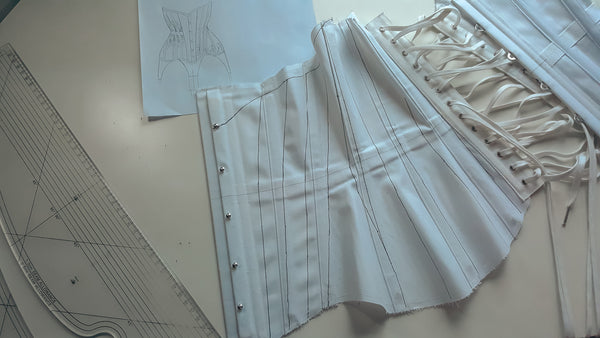
If you’re still with me, then you can probably see why the idea of playing with additional panels held practical appeal. There is also something very appealing to me about a corset that displays such architectural elegance. The lines of a corset like this would be very beautiful to my eye. And it would give me a chance to play with altering a pattern's design and observing the effect it had, using the same measurements distributed differently.
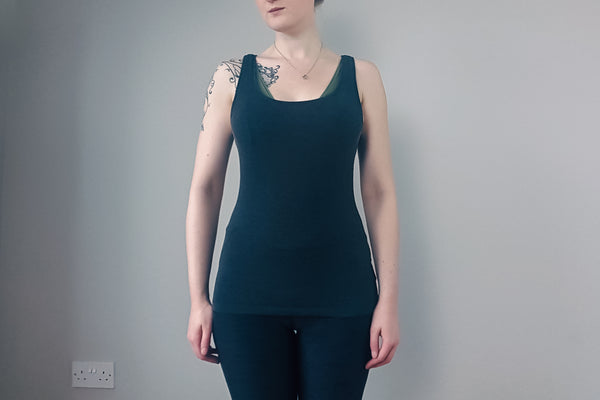
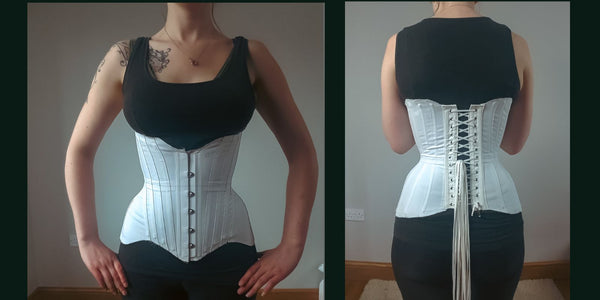
I wanted to work on fitting to my own body, so I started by taking some photos of myself without a corset to show the effects the first toile had. I am 5ft 10, and usually around a size 10. I would describe myself as moderately curvy- I have a full bust and as my high school textiles teacher once told me, “child bearing hips”. Thanks Mrs Hopkins.
The first toile (a test version of the corset) was made to our classic 12 panel style. This is an extremely versatile and comfortable design and has been well tested over the years! The initial results seemed pretty good- I had opted for a 4″ reduction on my 27″ waist with a gentle hourglass cut. Immediately I could see that I would want more reduction as it was not curvy enough for my tastes and I was comfortable enough to reduce by another 2″.
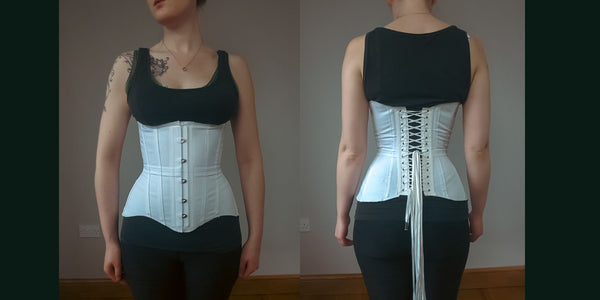
One thing we look for on toiles are wrinkles. They tyically indicate too much slack or too much strain, and tell you where adjustment is needed. You can see from the initial figure pictures that I am slightly sway backed, and those wrinkles indicate where the curve of my back has left a hollow in the corset. There was slack in the lower hip that needed taking in.
I also experimented with the plunge height and style I was planning. I knew I wanted a dramatic, swooping Edwardian line but I wanted it to flow with the lines of my body for a flattering effect. I always prefer to draw these things directly onto a toile while it’s being worn!
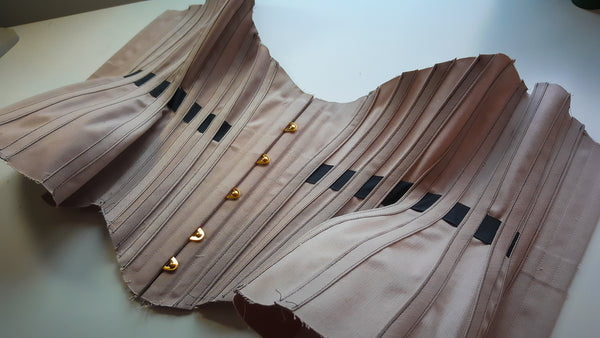
This left me at a stage where I could make my alterations to the original pattern and plan where I wanted to create my new panels. Again, I chose to draw these directly on to the toile. This let me try the corset on and see where the panels would sit on my body, and allowed me to simply cut up the toile along these new lines to make my new pattern. I chose to make a 20 panel corset because this seemed a good distribution for my reduced waist size and gave me a nice even 5 panels for each quadrant of the corset.
The second toile shows very well how redistributing your panels (as well as changing your front panel height and waist reduction) can really play havoc with your fit! I suddenly had a lot more wrinkles, including stress lines around the high hip and a different set of back wrinkles. The plunge at the centre front meant that the panels joining onto it needed to be made smaller in that area to avoid it pulling back on itself, as you see on the toile. I had made adjustments for this already, but until you see the results on the body you can’t know if you’ve judged it correctly.
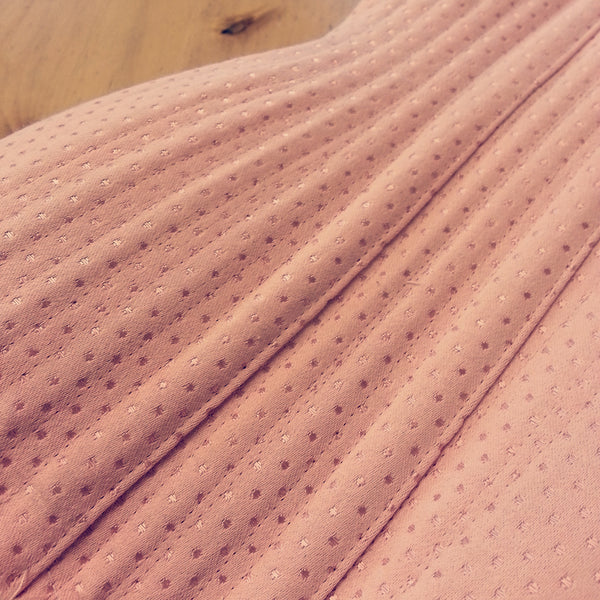
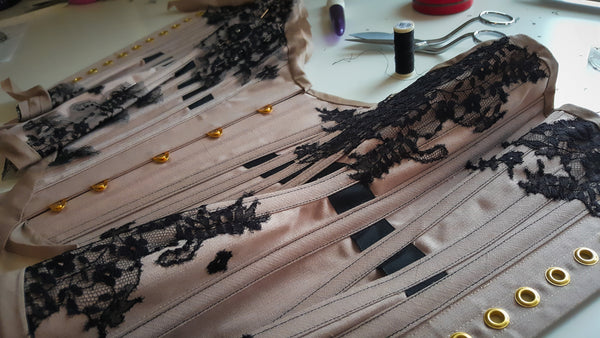
I’ll be completely honest. I should have done a third toile for this. But I had an event coming up that I needed to wear my corset for, and time was running out. So in a case of “Do as I say, not as I do” I made my tweaks with some resewing on the second toile, and moved straight onto my final corset! Luckily, it worked out pretty well. Not perfectly, but I really like the finished garment. I chose a simple construction of mink coutil with contrast black waistband and symmetrical embellishment of black Chantilly lace. I wanted a feel of flourishing growth within the restraints of symmetry (I usually embellish organically) and the simple, classic tones of mink and black play well against each other.

I have had a great reaction to the look of this corset! I could really see the possibilities for taking a corset pattern in this direction, and it’s something I intend to play with more in the future. Though preferably on another human being, because the added complication of needing eyes in the back of my head did not make this task any quicker or easier! If you find yourself dreaming of architectural corsetry then do come and talk through your ideas with me!